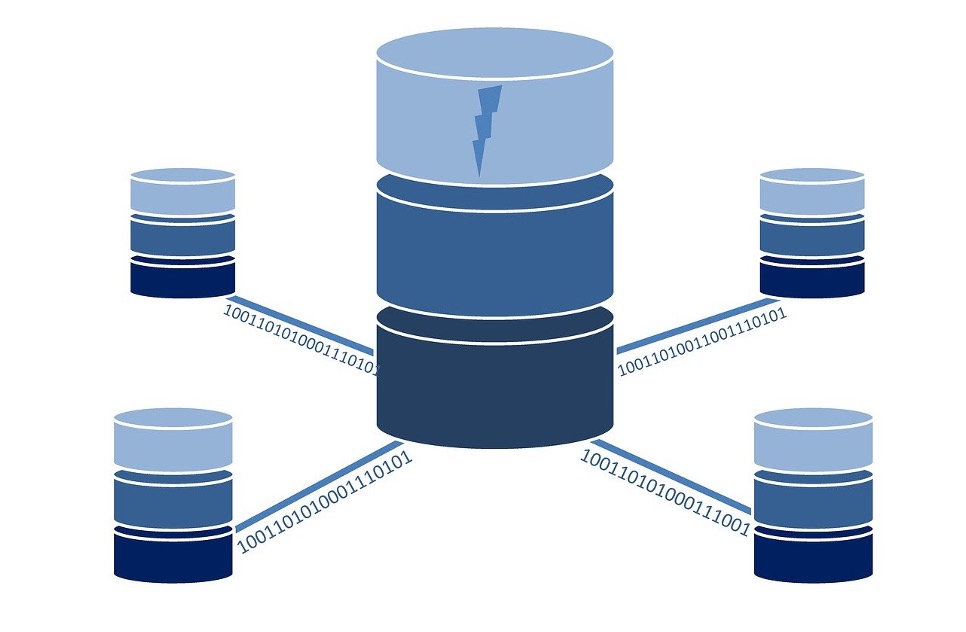
Using a virtual machine (VM) is an excellent way to run multiple operating systems (OS) on one physical computer. VMs provide a safe environment if you want to test software, build development projects, or run applications that are incompatible with your host operating system. In principle, it’s similar to using your PC as a server to host a website. Only this time will your computer host multiple instances of operating systems. These can be different versions of Windows or another OS entirely.
This guide will walk you through the process of setting up a virtual machine.
Prerequisites
Your Windows PC should have adequate hardware resources to run virtualization software and virtual machines. At least a quad-core CPU is recommended, but for more intensive workloads or more instances of VMs, consider a high-end multi-core CPU, like Intel Core i7 or i9. You may also check if your CPU has support for hardware virtualization. This information can be found in the BIOS, which typically indicates Intel VT-x.
For virtualization software, a lot of VM beginners use Oracle VM VirtualBox, which is free, user-friendly, and compatible with Windows. Another option is to use cloud services, as many providers have their own VM toolkit.
You’ll also need the OS image, meaning you must have the ISO file or installation media of the OS you want to run in your VM. This could be Windows, Linux, or any other OS. Lastly, ensure you have enough disk space on your host computer. This lets your PC accommodate the virtual machine and additional programs or files you plan to install within it.
Installation and VM Creation
Download the installer for your chosen virtualization software. Run it and follow the on-screen instructions to complete the installation. If it’s your first time building a VM, it’s fine to use the default settings.
The next step is to create a new VM, which typically starts by launching the program you installed. The user interfaces of different virtualization software generally have “New” or “Create” options. In this phase, there are important considerations before you build your VM instance. You may check a guide to virtual machines as you need to determine specifics such as:
- VM name
- Its physical location
- Its primary purpose – generic or project-specific, e.g. mobile app development
- Use of VM containers
- OS to be installed in the VM
Once all the information has been finalized, you can go to the next step which is to allot memory or RAM to your VM. Just be mindful not to allocate capacity that is close to what your host machine has available, as this may affect performance.
Then comes hard disk creation for your VM. Select “Create a virtual hard disk now” and choose the hard disk file type. You can also select the default option, a dynamically allocated or fixed-size disk, and then choose the amount of disk space to allocate to your virtual machine. The minimum space required depends on the operating system and applications you intend to install. A typical starting point is 20-30 GB.
VM Setting Configuration
After creating the VM, you must configure its settings to meet your requirements. For system settings, configure the boot order and the number of CPU cores allocated to your VM. Allocate as many CPU cores as your host system can comfortably spare. You can also set display settings to increase the video memory allocation for better graphics performance. Enabling 3D acceleration is also recommended for smoother visuals.
Next is to attach the ISO file of the OS you want to install to the virtual CD/DVD drive. This allows your VM to boot from the installation media. For other settings like audio and shared folders, adjust them depending on your requirements.
Install the Virtual OS
Launch your VM from the ISO image you attached to install the virtual OS. Follow the instructions just as you would on a physical machine. Create a user account and password when prompted.
You may also set guest configuration that defines how your host and guest operating systems will interact. This impacts features like automatic screen resizing and shared clipboards.
Choose a Network Setup
By default, your VM is likely set to use NAT for networking, allowing it to access the internet through your host computer’s connection but making it inaccessible from other devices on your local network. If you need to access your VM from other devices or need more control over networking, a published paper on virtual network configuration indicates that a “bridged” setup is viable. This assigns the VM its IP address on your local network, just like a physical machine. Another alternative is “host-only”, which creates a private network shared only with your host machine.
Install Programs on the VM
Now that your VM is up and running, you can install the applications you need. Use your VM like a physical machine, installing dev environments, productivity software, or any other program. You may also consider software that can speed up the performance of your computer, whether it’s the virtual one or your host Windows machine.
Setting up a virtual machine on your computer is a versatile way to work with different OS, test software, and create isolated environments for various tasks. The best thing about it is that Windows provides a robust platform for virtualization, making it a valuable tool for professionals and enthusiasts alike.

