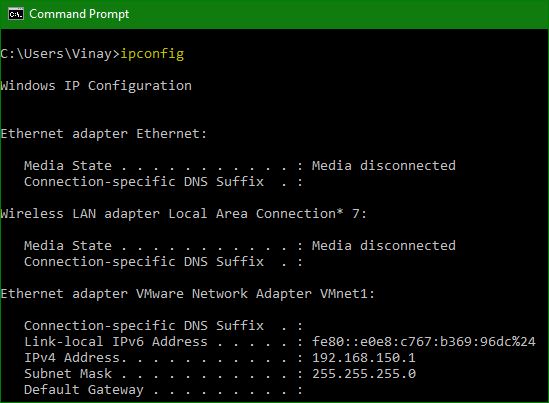
Saving the output of a Windows Command Prompts command is a great way to get a nice neat copy to share with support staff, analyze longer outputs using your favorite text editor, or otherwise interact with the output with more flexibility than staying in the command window allows for.
To redirect the output of a command to a text file instead of printing it to the screen in the command window, we simply need to execute the command and append it with the “>” angle bracket symbol—called, appropriately, a redirection.
If, for example, you wanted to save the output of the DIR function to a text file instead of scrolling for page after page on your screen in the command window, you would execute the command
c:\> dir > sample.txt
in the code above above, where we’ve run the DIR command from the C: directory and saved the output to a text file stored as “sample.txt”.
Notice that the output is not displayed in the command window above, but when we open the text document, we see the full command output:
Any command that has a command window output (no matter how big or small) can be appended with “>” filename.txt and the output will be saved to the specified text file.
In addition to executing the command as a one-off affair, you can also tweak the command slightly in order to dump sequential output to the same text file for your convenience.
Let’s say, for example, you want to send the output of the same command to the same text file before and after you make some change (e.g. rebooting your router and acquiring a new IP address).
You can first issue the command with a single angel bracket “>” and then repeat future instances of the same command with a double angle bracket “>>”
c:\> dir >> sample.txt
![]()


Leave a Reply