In this post, we’ll generate resources for the flutter app we created in the previous post. we’ll be learning how to generate resources for playstore and apple store respectively.
As a developer, you won’t like to have the default Flutter app icon showing on all your app as it can cause confusion or distraction when building multiple apps and testing with the same mobile device.
Generating the App icons
Using an open-source tool we’ll generate an icon for our app from existing logo design.
Our Logo

Now after getting your logo, visit the AppIcon website to generate the icons and download them.
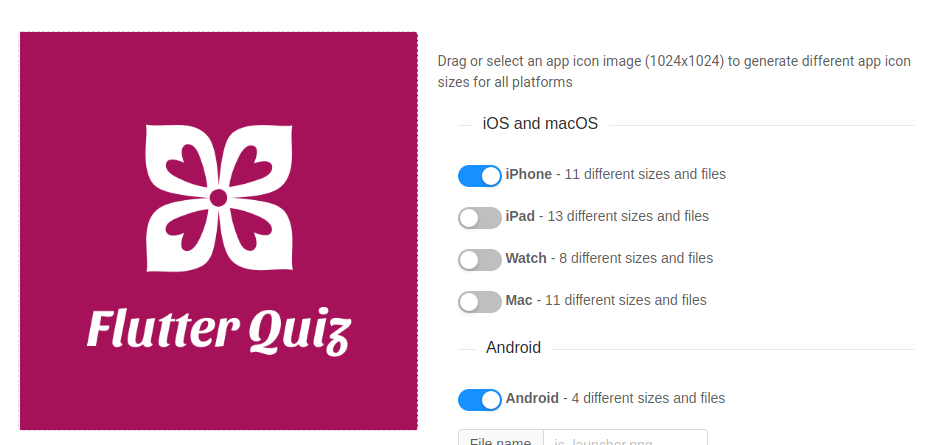
After uploading the logo and setting the types to iPhone and Android, click Generate. An AppIcons.zip file would be downloaded for you. Unzip and open it.
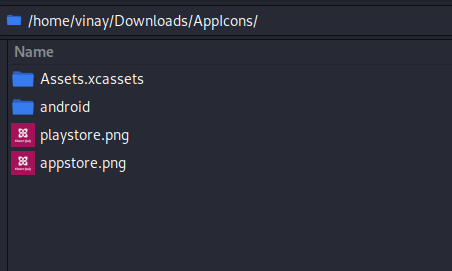
No go to your Flutter project folder and let us replace the default resources.
Replace default Android Resouces
Go to this path ‘android/app/src/main/res/‘ from your flutter project folder
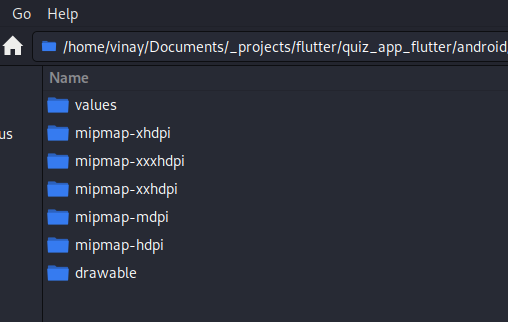
From our downloaded AppIcons folder copy, the content of the /android folder starting with mipmap and replace it with the default folders in the android/app/src/main/res/‘ folder.
Replace default iOS Resouces
Go to this path ‘ios/Runner/Assets.xcassets/‘ from your flutter project folder
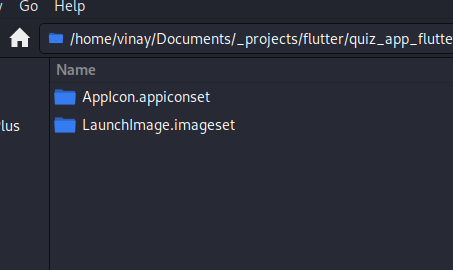
From our downloaded AppIcons folder, open the Assets.xcassets/ folder, and copy AppIcon.appiconset and us it to replace the default folder in the ‘ios/Runner/Assets.xcassets/‘ folder.
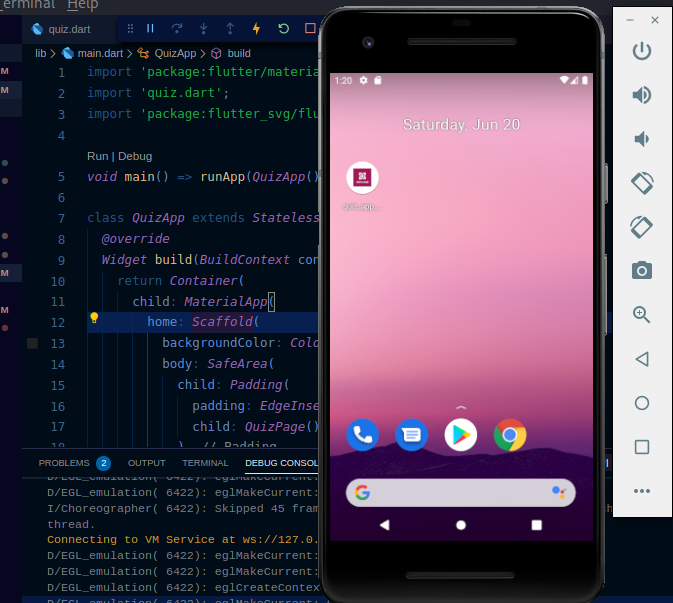
After updating all the resources in our app, we will now have the new icons with our logo on it.
Generate Playstore or Apple Store Screenshots
Alright, we updated the icons as needed above, that is the first section of generating resources for playstore and apple store, now its time to generate the resources for the marketplaces for our app, before publishing to play store, these stores require you upload introductory images for your app.
To do this, create your designs and visit PreviewedApp to create them for FREE or AppLaunchPad

