
Cybersecurity Engineering & Infrastructure
In this post, we’ll be learning how to set up your Flutter on Linux for development. Flutter is a fast-rising Widget based developer tool built by Google for creating mobile and web applications Interfaces.
Contents
What is Flutter?
According to Wiki;
Flutter is Google’s mobile UI framework for crafting high-quality native interfaces on iOS and Android in record time. It is used to develop applications for Android and iOS, as well as being the primary method of creating applications for Google Fuchsia. Using a single codebase, you can develop mobile apps for both Android and iOS at the same time without putting extra effort. Flutter works with existing code, and is used by developers and organizations around the world, and is free and open source.
Alright, now we are aware of what Flutter is about. But this article does not focus on What is Flutter but focuses on the setup Flutter on any Linux or Unix Distro.
Steps to undertake
- Download and sett the path of JAVA.
- Download and set the path of Android SDK.
- Install Flutter on Linux and set the path.
- Fix flutter run issues.
1. Install JAVA JDK 8
First, we will install Oracle JDK 8. Run the following commands on the terminal in Ubuntu.
First check JAVA version to ensure you don’t already have it installed
$ java -version
If it shows the version, then jump to step 2; else continue below.
$ sudo apt-get install openjdk-8-jre
For more other versions . See this link to Download. Java Open JDK
Now, to ensure it was installed successfully, open the terminal and type:
$ java -version
2. Download and Install Android Studio
System Requirement
- 64-bit distribution capable of running 32-bit applications
- 3 GB RAM minimum, 8 GB RAM recommended; plus 1 GB for the Android Emulator
- 2 GB of available disk space minimum,
- 4 GB Recommended (500 MB for IDE + 1.5 GB for Android SDK and emulator system image)
- 1280 x 800 minimum screen resolution
Download the Android Studio package for Linux and extract it somewhere (e.g home directory).
To launch Android Studio, open a terminal, navigate to the Android-Studio/bin directory, and execute ./studio.sh.
From the home directory where you extracted the Android studio.
$ cd android-studio/bin
$ ./studio.sh
After the Android Studio opens, Select whether you want to import previous Android Studio settings or not, then click OK.
Download the various files of the Android SDK. By default, the Android Studio installation process forces you to download the latest Android SDK, so you have to download that.
After downloading the latest Android SDK, Click on ‘Start a new Android Studio Project’. This will create a sample Android project. The initial build of the first sample project takes some time as Android Studio builds the project and sets all the default settings in the system.
If you want to set up a desktop entry for Android Studio then you can do it by clicking on Tools menu > Create Desktop Entry.
Now you can open Android Studio directly from the launcher. You can also pin Android Studio to the launcher. Android Studio sets the path of its SDK automatically, so you don’t need to configure it. 🙂
3. Download and Install Flutter
You can download the Flutter SDK from flutter.dev for Linux version.
You must have a 64-bit Operating System to install it, so at first, confirm that you have the 64-bit version of Linux.
System Requirements
- Operating Systems: Linux (64-bit)
- Disk Space: 600 MB (does not include disk space for IDE/tools).
After downloading the Flutter SDK, you should extract the file to the /Android/Sdk/ the folder name will be called flutter.
$ cd ~/Documents
$ tar xf ~/Downloads/flutter_linux_1.17.1-stable.tar.xz
NOTE: After extracting in the Documents folder, copy/cut the flutter folder into the Android/Sdk folder manually
Now you need to update the PATH to add the Flutter SDK.
Open a terminal and go to the home directory and then to the current user directory by typing the following command.
$ cd /home/{your_username}
Type the following commands to update the path if using bash
$ gedit .bashrc
// OR
$ vim .bashrc
If using Oh My Zsh Command line plugin
$ gedit .zshrc
// OR
$ vim .zshrc
When the file opens for editing. Be careful while dealing with this file as this is the file that contains the system configurations.
At the end of this file add the path of the Flutter SDK.
$ export PATH="{path-of-sdk}/flutter/bin:$PATH"
For example:
$ export PATH="/home/{your-username}/Android/Sdk/flutter/bin:$PATH"
Update the terminal by running the command below;
source .bashrc
// OR
source .zshrc
The above example works if the Flutter SDK is in the home directory.
Save and close the file and then also close the terminal.
Then run echo $PATH to see the updated path. This will show you the updated path which contains the Flutter SDK.
Now run flutter doctor in the terminal.
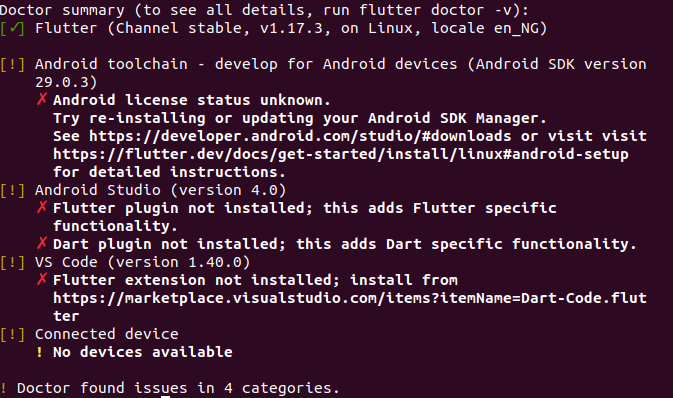
You shall get the above output showing you that you have some issues in the listed categories.
First, let us Accept the Android Licenses. excute the Command below
- Open your terminal
- type
flutter doctor --android-licenses - press
yto accept every license.
4. Download and install the Flutter plugin in Android Studio
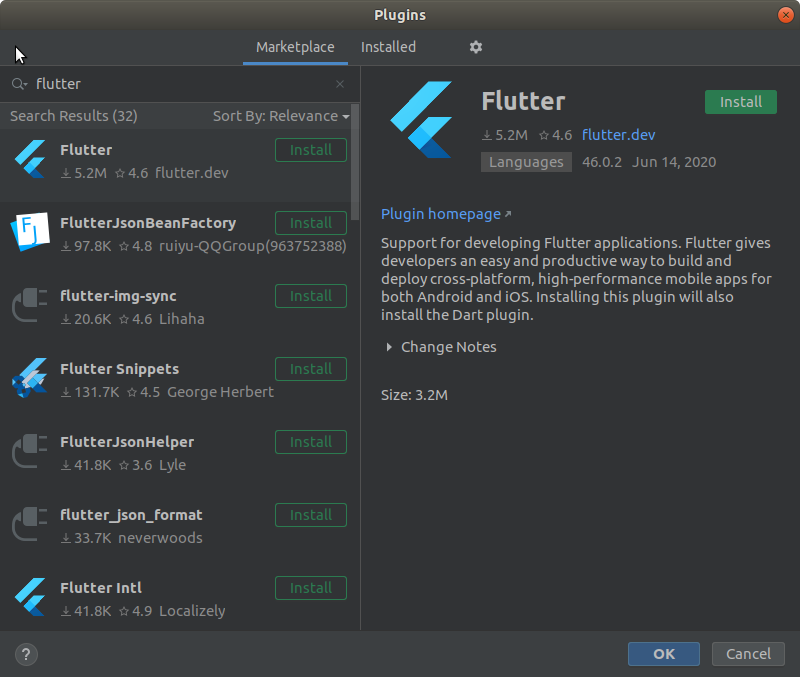
Now you just need to install Flutter plugin in Android Studio. You can do this by Clicking ‘Configure’ on the ‘Welcome to Android Studio’ starter page and Select ‘Plugins’ as shown in the image below;
Or by going into File > Settings > Plugins and then search for Flutter in ‘Search in repositories’ and from there you will install Flutter and Dart plugin for Android Studio.

Now, on the Plugin page, Type ‘Flutter’ in the search box and click Install
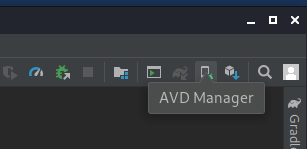
Add Android Emulator
After installing the Flutter plugin, on the top-right of Android Studio select the AVD Manager (Android Virtual Device Manager)
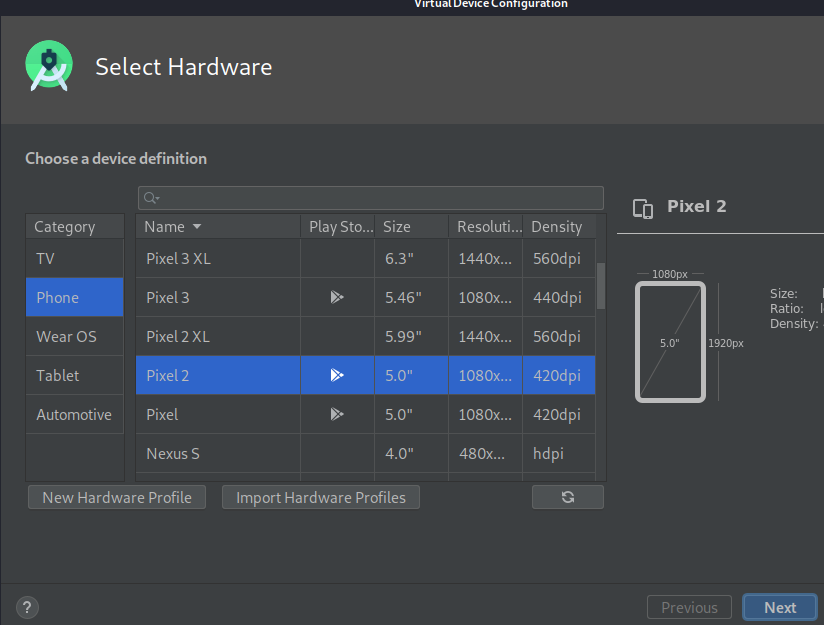
on the AVD Manager screen, Select Create Virtual Device as shown below;
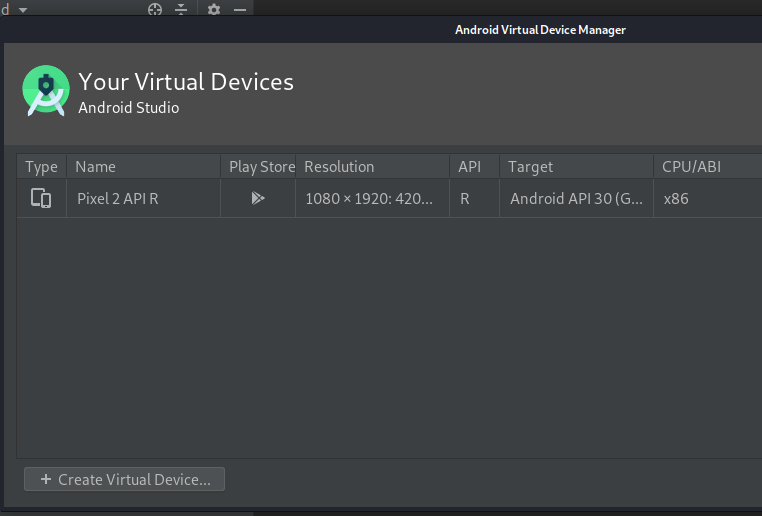
on the Select Hardware page, Select the Phone category and Select Pixel 2 or any of your choice and click Next
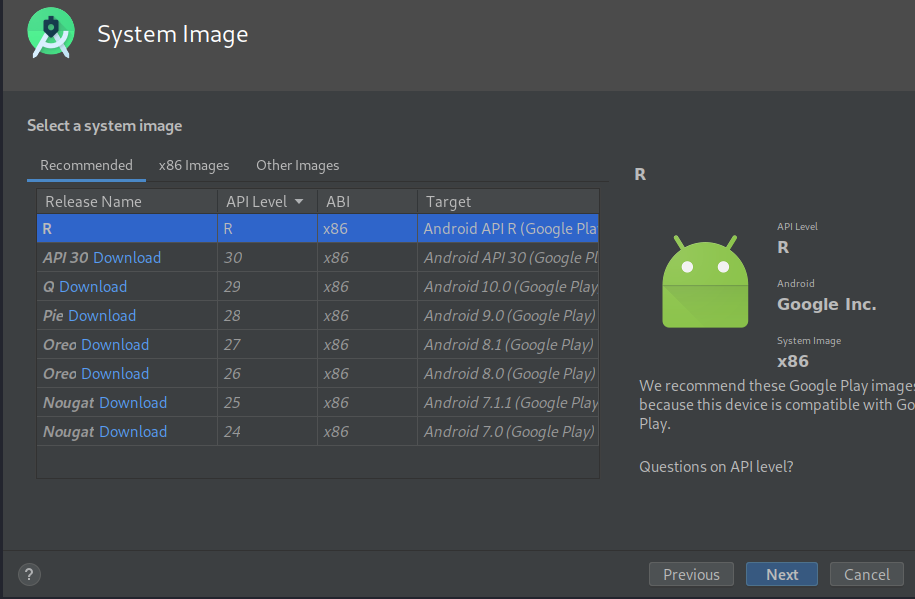
on the Select Image page, Select the R Download and click Download, after downloading, click Next to complete Setup.
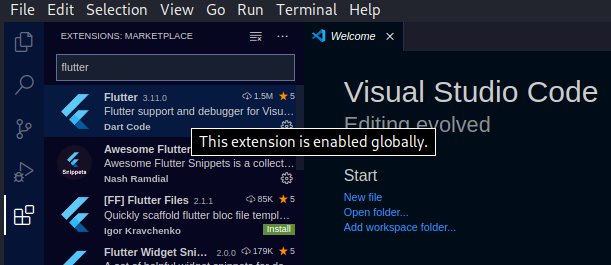
Setup Flutter Extension in VScode
Now open your VSCode and click the Extensions Tab, we would install Flutter extension and the Dart extension

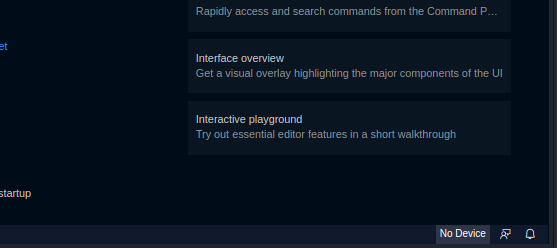
Now let us create our first project and open it with VScode
$ flutter create first_project && code first_project
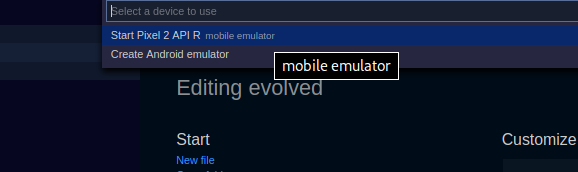
The project would open with VSCode, select No Device in the right bottom of VSCode to start the Emulator. See images setups below;

Now, when we run flutter doctor in the terminal again, we should have the output below;
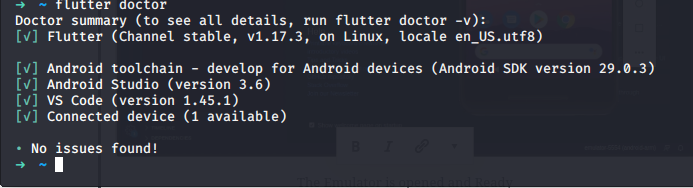
Now you have successfully installed Flutter on your Linux system. You are all set to go and develop awesome apps in Flutter. Happy Coding